I recently picked up a desk for $5. Yeah, don't go back and read that sentence. You read it right the first time. Five bucks! I was so ecstatic to start this new project and give this ugly desk a new makeover for my daughter's room. I finally finished it ( that will be a future post ), but there was one thing that was really bothering me. The inside of the drawers. They were so disgusting and no matter how much I cleaned it, they still remained gross! They had marks, scratches, and who knows what that weird goo was that was inside the drawers. All I knew was that it was making me a little ill to think my daughter's stuff would be sitting on top of all this mess. I know, I know…you're probably thinking "um, why didn't you just paint them?" and the answer is simple, I was
lazy. I had just finished painting a night stand, a desk, and an entire dresser. I was pretty much exhausted at the idea of painting anything else, waiting for everything to dry, and having to wash out those darn brushes and rollers again. So I took the easy way out. I know, I'm so lazy! So I knew I wanted to line the drawers. So, I went to my BFF Pinterest to look for a few ideas. What I mostly came across was how I could line my drawers with wall paper! "PERFECT", so I thought. So I started the search for wallpaper. And came across the giant price tag attached to it. "NOT PERFECT!" I wanted to do this, but not spend a ton of money, considering I paid almost nothing for the desk. The idea of doing a really great project, to me at least, is that you get to make something your own, while saving a boat load of money. So I knew I needed something cheap, and that's when the wrapping paper idea came into play. I liked the idea, loved that they had so many patterns and colors to choose from, and loved the price of it.
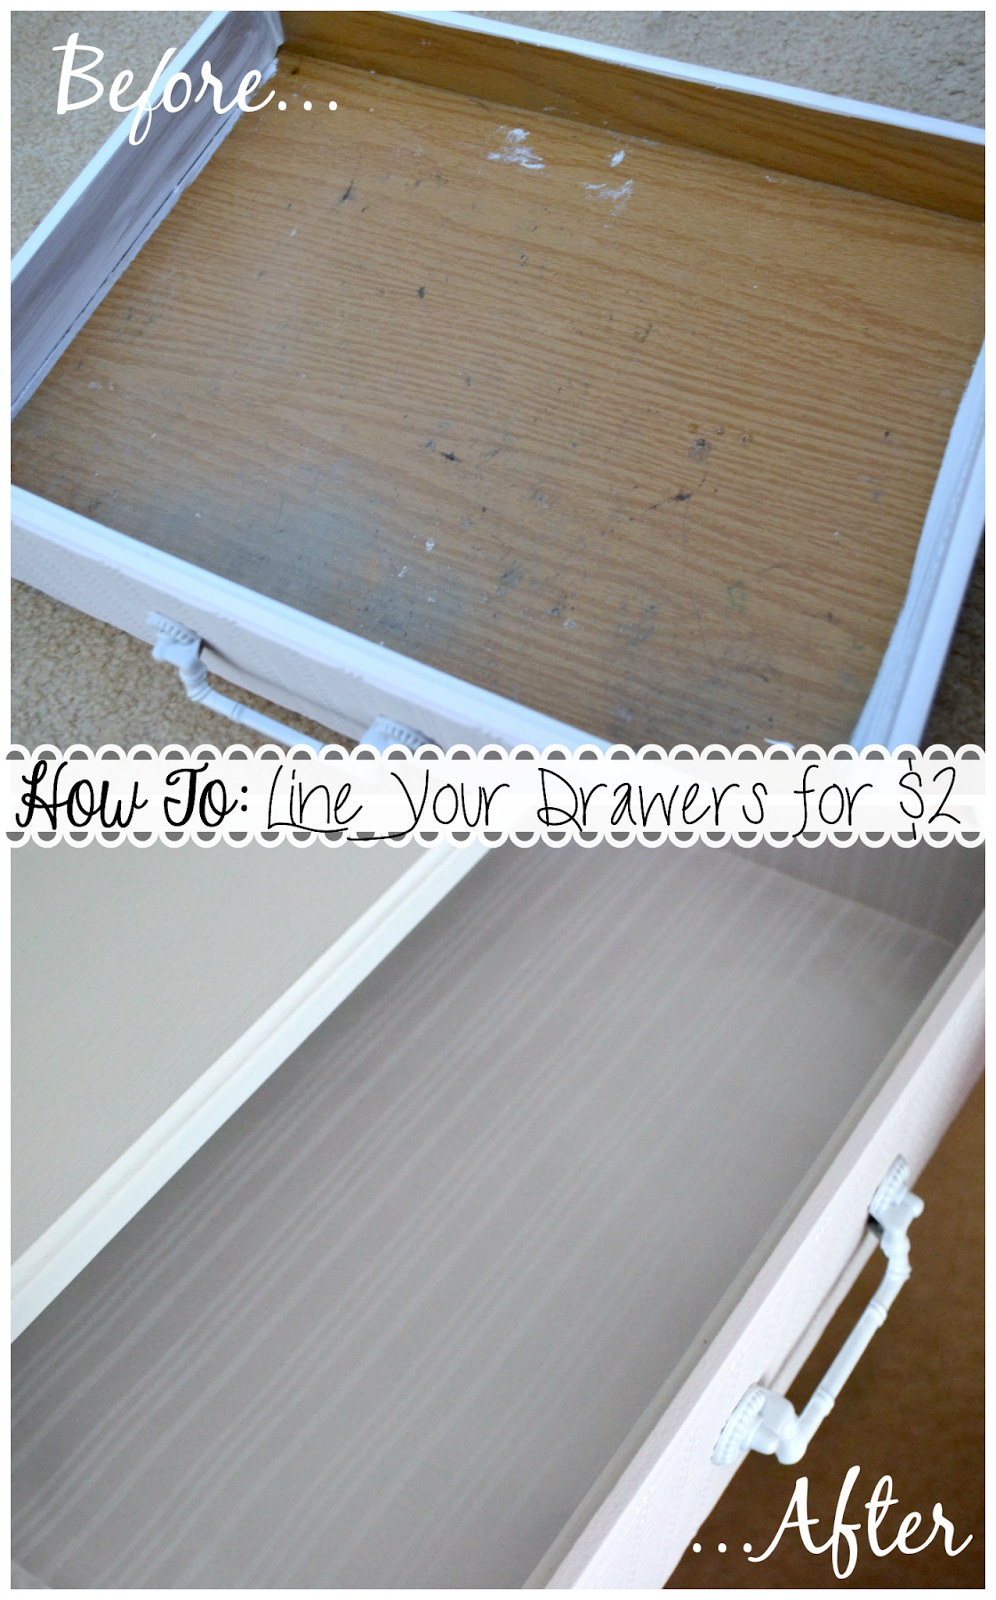
Here's the drawers before:
I know. Barf-tastic right? (is that even a word?) Well, if it's not then I just made it up just for the sole purpose of trying to explain these drawers. And honestly, this wasn't even the worse one.
I started out by taking a bowl of hot soapy water mixed with white vinegar and a clean rag and using plenty of elbow grease, and started wiping all of the drawers down. Most of the "yucky-ness" came off, but they still looked pretty dingy to me.
I found two rolls of wrapping paper in the dollar store (SCORE!) that I thought were pretty and went well with her light colored desk. It's a soft silver and white striped paper that I thought was really pretty and looked really clean and bright.
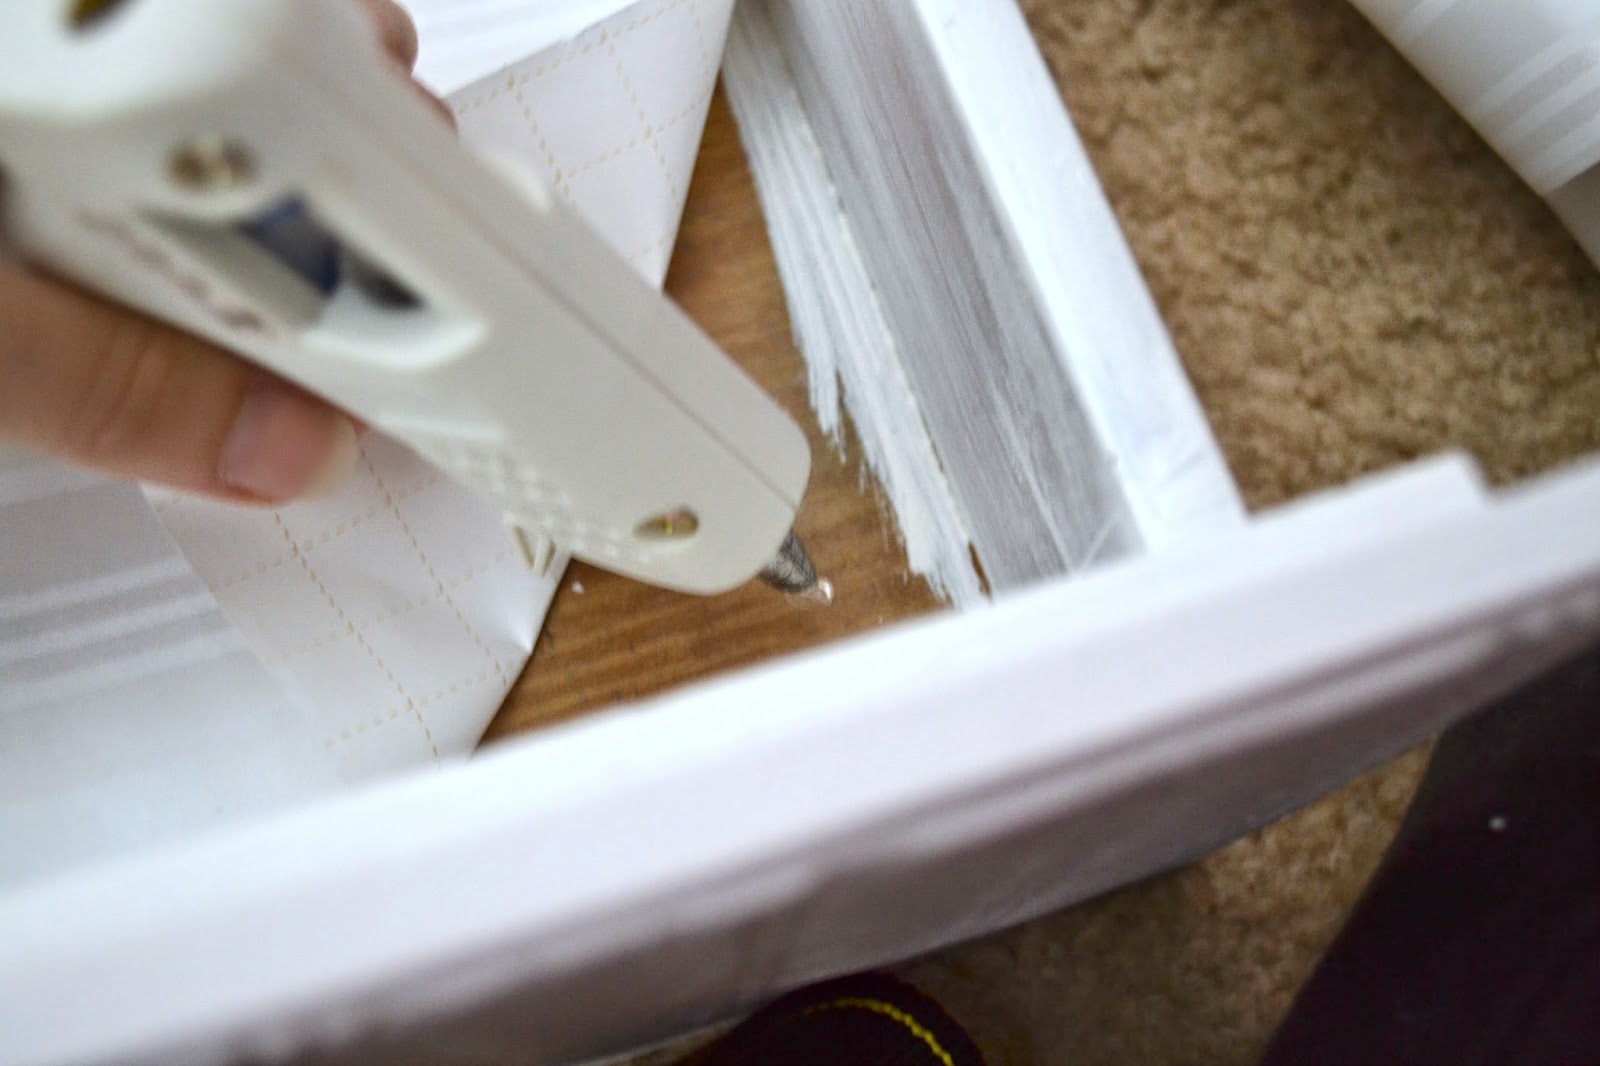
I started out by unrolling the wrapping paper and marking it to the size of the bottom of the drawer.
Well this was a bit wrinkly and not very pretty looking at all but I was trying to do this one handed to take this picture. Work with me here! :)
Then I cut the paper to size, making sure the piece went all the way to the sides.
Then using my hot glue gun, I put some glue in the middle, and a dab of glue in each corner.
I pressed it down, making sure all the corners were stuck and nothing was lifting. Then I started on the sides.
I took the roll or wrapping paper and marking each piece, I cut a piece to fit each side, having a little extra to cover the top edges as well.
Lining up the pattern as best as I could, I put a small line of hot glue on the bottom edge and then a line of glue on the top edge and glued the paper to the sides.
Whatever over hang was left, I just trimmed off.
I repeated this step on both sides and the back of the drawer, but I didn't do the front of the drawer because I actually had painted that white.
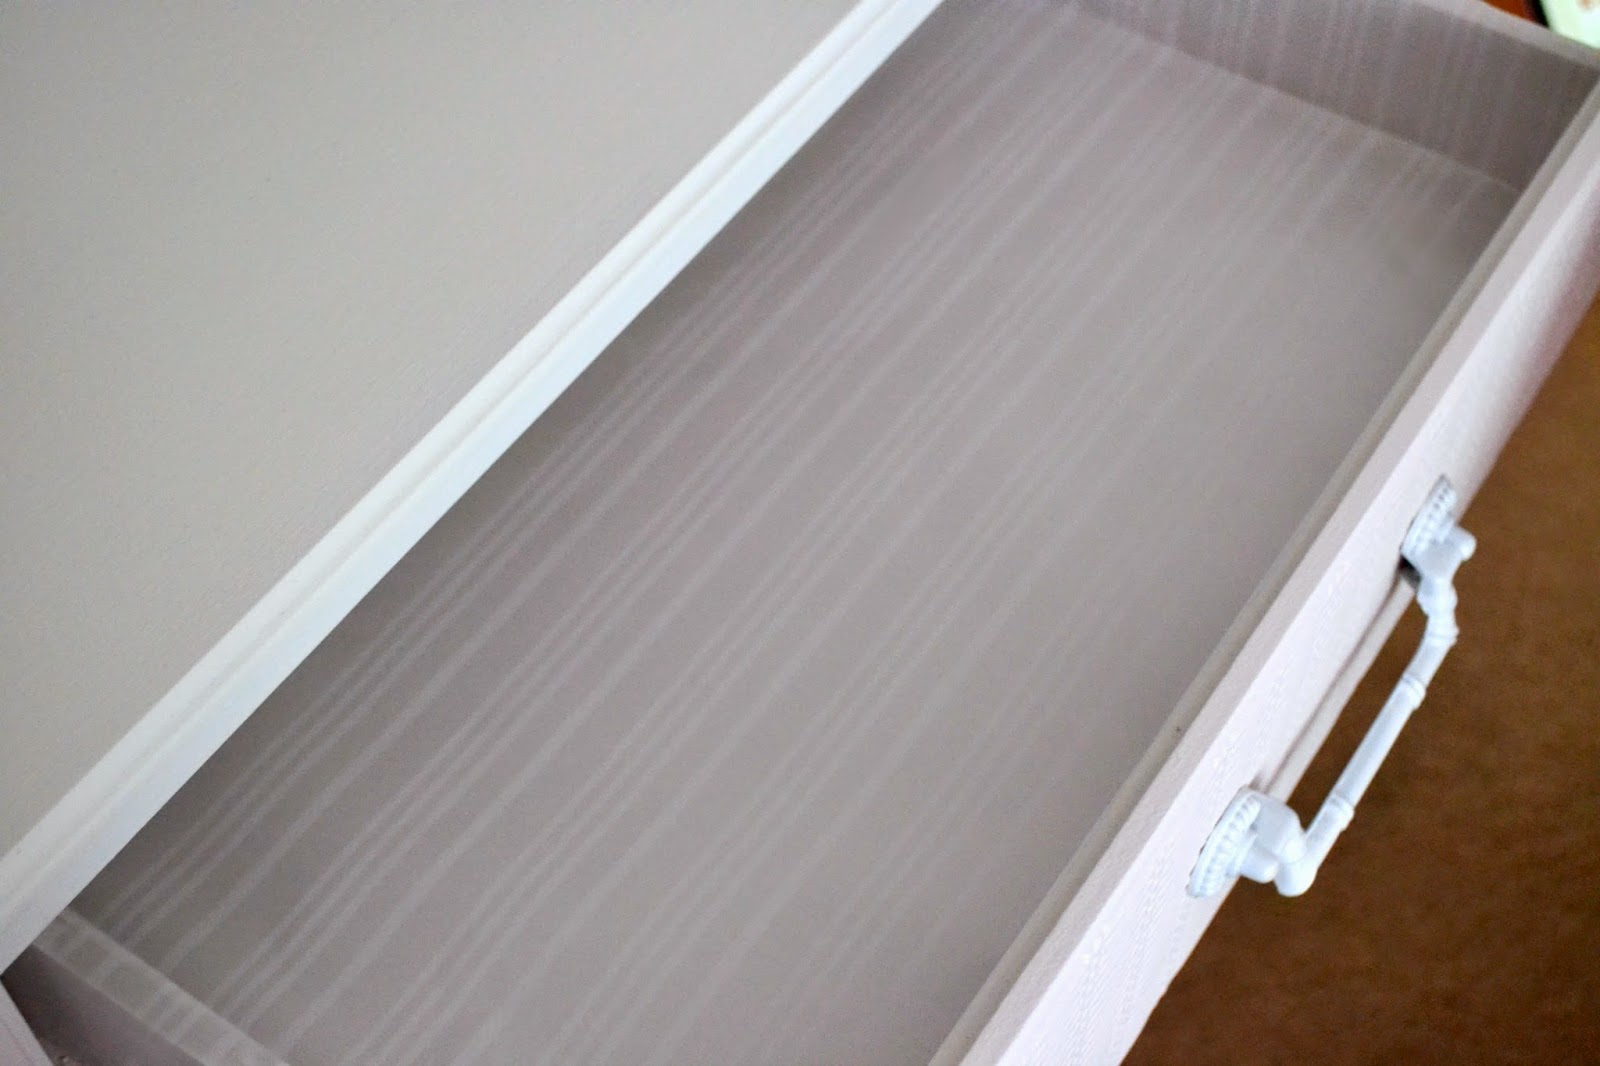
Here it is all finished and so beeeeee-autiful.
And there you have it. Cute lined drawers for $2. The paper hasn't ripped or has shown any wear at all. It actually holds up really well! And the beauty part of it is, is that when it does become a little worn, or I find another pattern that I think would look a little cuter, I can just simply rip this off and start again.
And that's a wrap!


No comments:
Post a Comment