
Typically on Thanksgiving is when everyone remembers what they're thankful for all year. But what if we could find something to be thankful for everyday for the entire month? What if we could start every day out with a positive mind and a grateful heart for a full 30 days? Sounds perfect to me. And that's exactly what this thankful tree is. It's a fun way to get kids involved in remembering what we are so blessed to have.
The idea behind it is that each day the kids, my husband, and I fill out a leaf of what we're thankful for. On the back of the leaf, we write our names and the date.
I keep my leaves in a photo album and every year before we hang our first leaf on the tree, we read what we were thankful for in the past year. It's great to see not only how much their handwriting and spelling has changed from a year ago, but how funny and amazingly sweet their answers were. My youngest was thankful for bubbles last year. How can that not melt someone's heart?
I keep my tree right in the middle of our dining room table, which is the first room when you walk in my front door. I encourage everyone that visits our home to hang a leaf on the tree.
The best part about this tradition is that it costs nothing. You don't have to go out and buy anything fancy. Everything I used, I already had on hand or printed out. It's not about how pretty it looks. It's not about how big it is, how sparkly it is, or how "pinterest worthy" it looks. It's about having a grateful heart. It's about teaching your children to always find something to be thankful for. Not only for one day, but everyday.

Supplies You'll Need:
- Vase or Glass Jar
- Branches (found right in your backyard!)
- Thankful Tree Printable Label ( courtesy of: cookefam.com )
- Leaf Printable (courtesy of: LiveCraftEat.com )
- Fall Colored paper (such as construction paper or scrapbook paper)
- Tape
- Scissors
- Hole Puncher
How To Make Your Thankful Tree:
-Cut them down to size and place in your vase or jar. ( I used rocks as a filler to keep the branches in place)
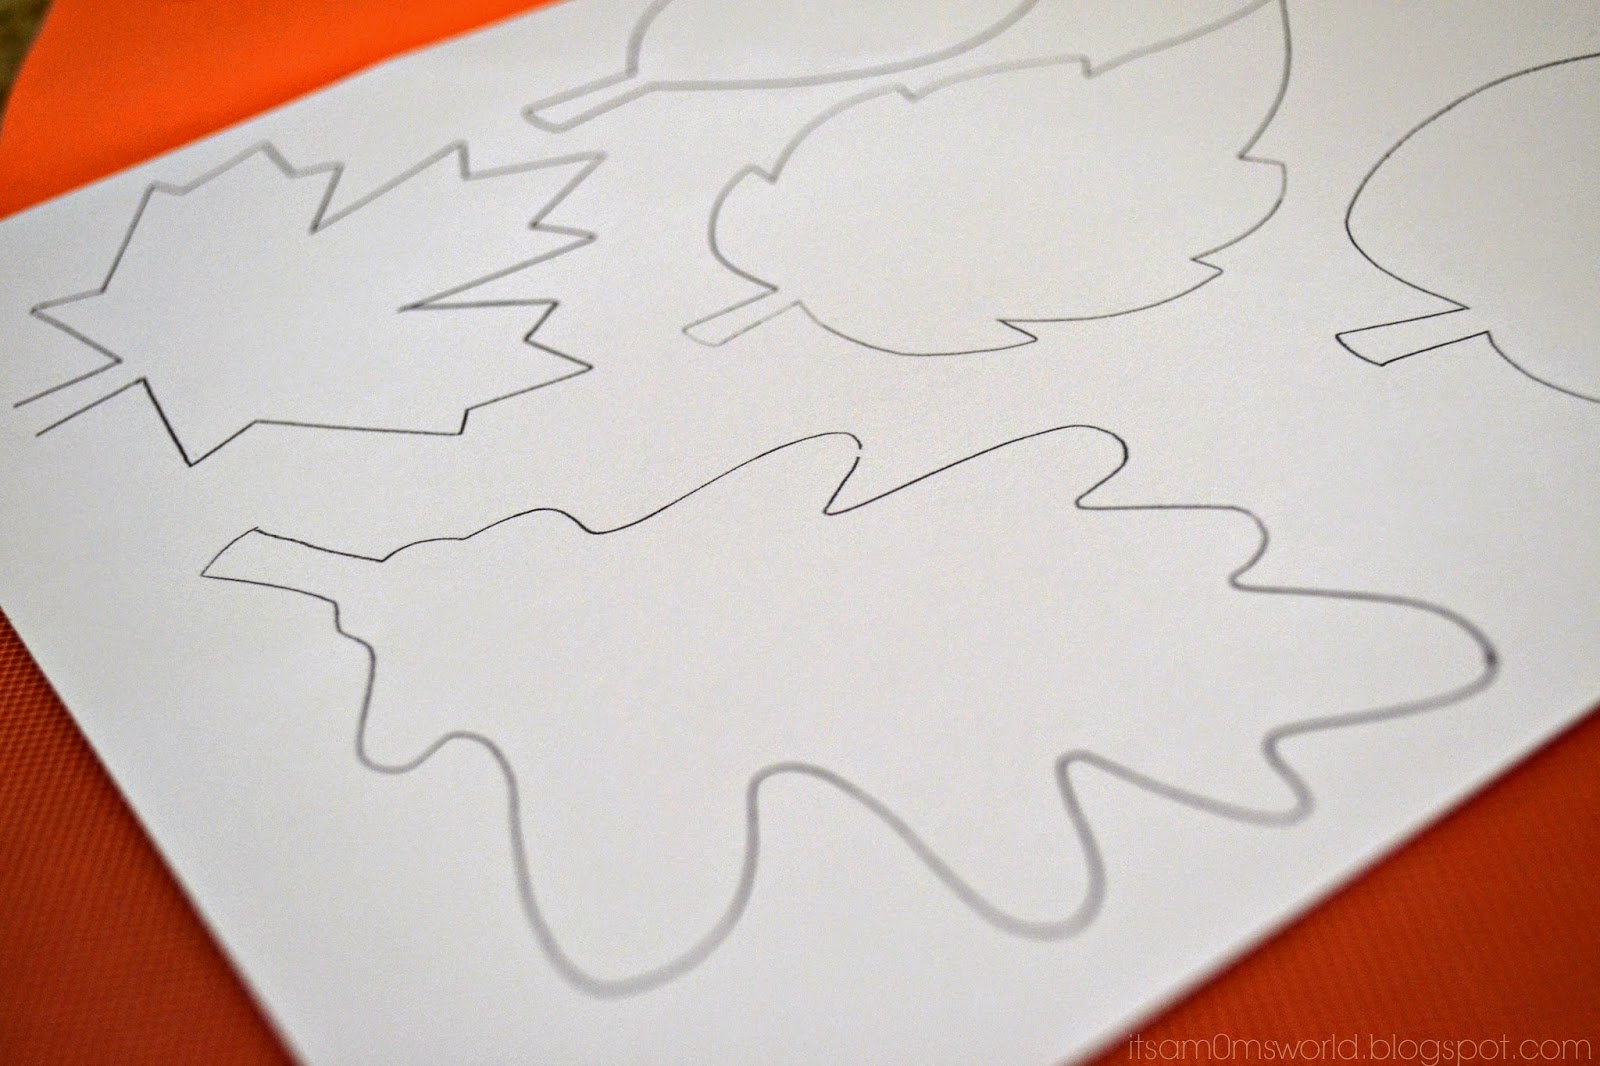
-Print out your leaf printable (or you can draw free hand) and cut out the leaf patterns.

-Punch a hole at the top of your leaves for easy hanging. (you can also use twine or yarn).
-Print out the Thankful Tree Label, cut it out, and apply it to your vase by either tying with a ribbon or adding some double sided sticky tape.

-You can add some ribbon, twine, glitter, or anything else to make it your own.
-With a grateful heart, get writing and hang your leaf on the tree each day.
-I keep a pen and the leaves in a little festive bowl next to the tree for easy access.


I added some leaves so you can see how cute it looks as the month goes on. The more leaves you add, the fuller your tree gets, and at the same time....the fuller your heart gets.

What are you thankful for this year?
No comments:
Post a Comment