
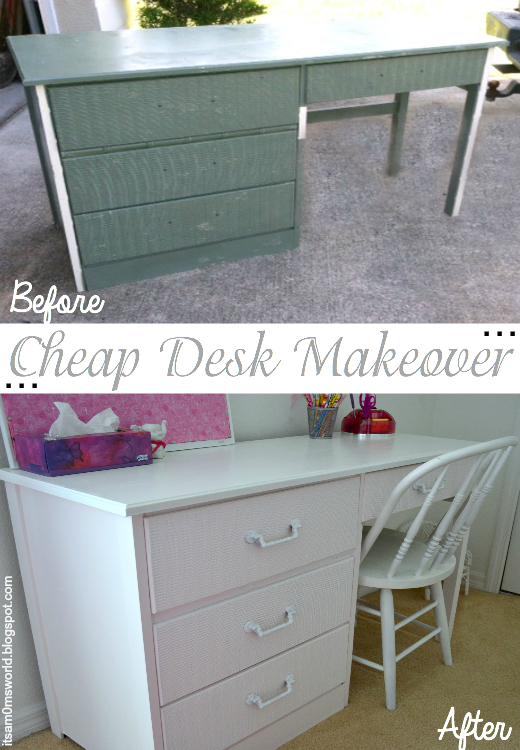
I haven't posted a furniture makeover in a while, so I thought I'd share a past desk makeover that I completed a few months back.
Wow. What a slacker I am.
Let me show you the desk before:


I know what you're thinking. Why? Why would ANYONE in their right mind ever even purchase this disgusting and hideous thing? My only answer I have for you is.... $4. It was four bucks! How could I not buy it? Even if it didn't turn out how I wanted it to, or if it turned out that something was wrong with it ..I wouldn't lose sleep overing hauling something to the curb that only cost me $4.
I have to admit. It actually looked worse than in the pictures. In the first picture, I had already removed the hardware and removed some funky bamboo molding from the drawers. Yes. You heard me right. Bamboo.
When I first started to sand this desk I realized someone actually painted this desk that horrendous green color. Someone actually had to go to a store, pick up a swatch, and said "oh, hey this is a nice color, lets paint the desk". I don't know what they were thinking or why they would do such a thing, but they did. And now it was my responsibly to scrape all this off and start again.
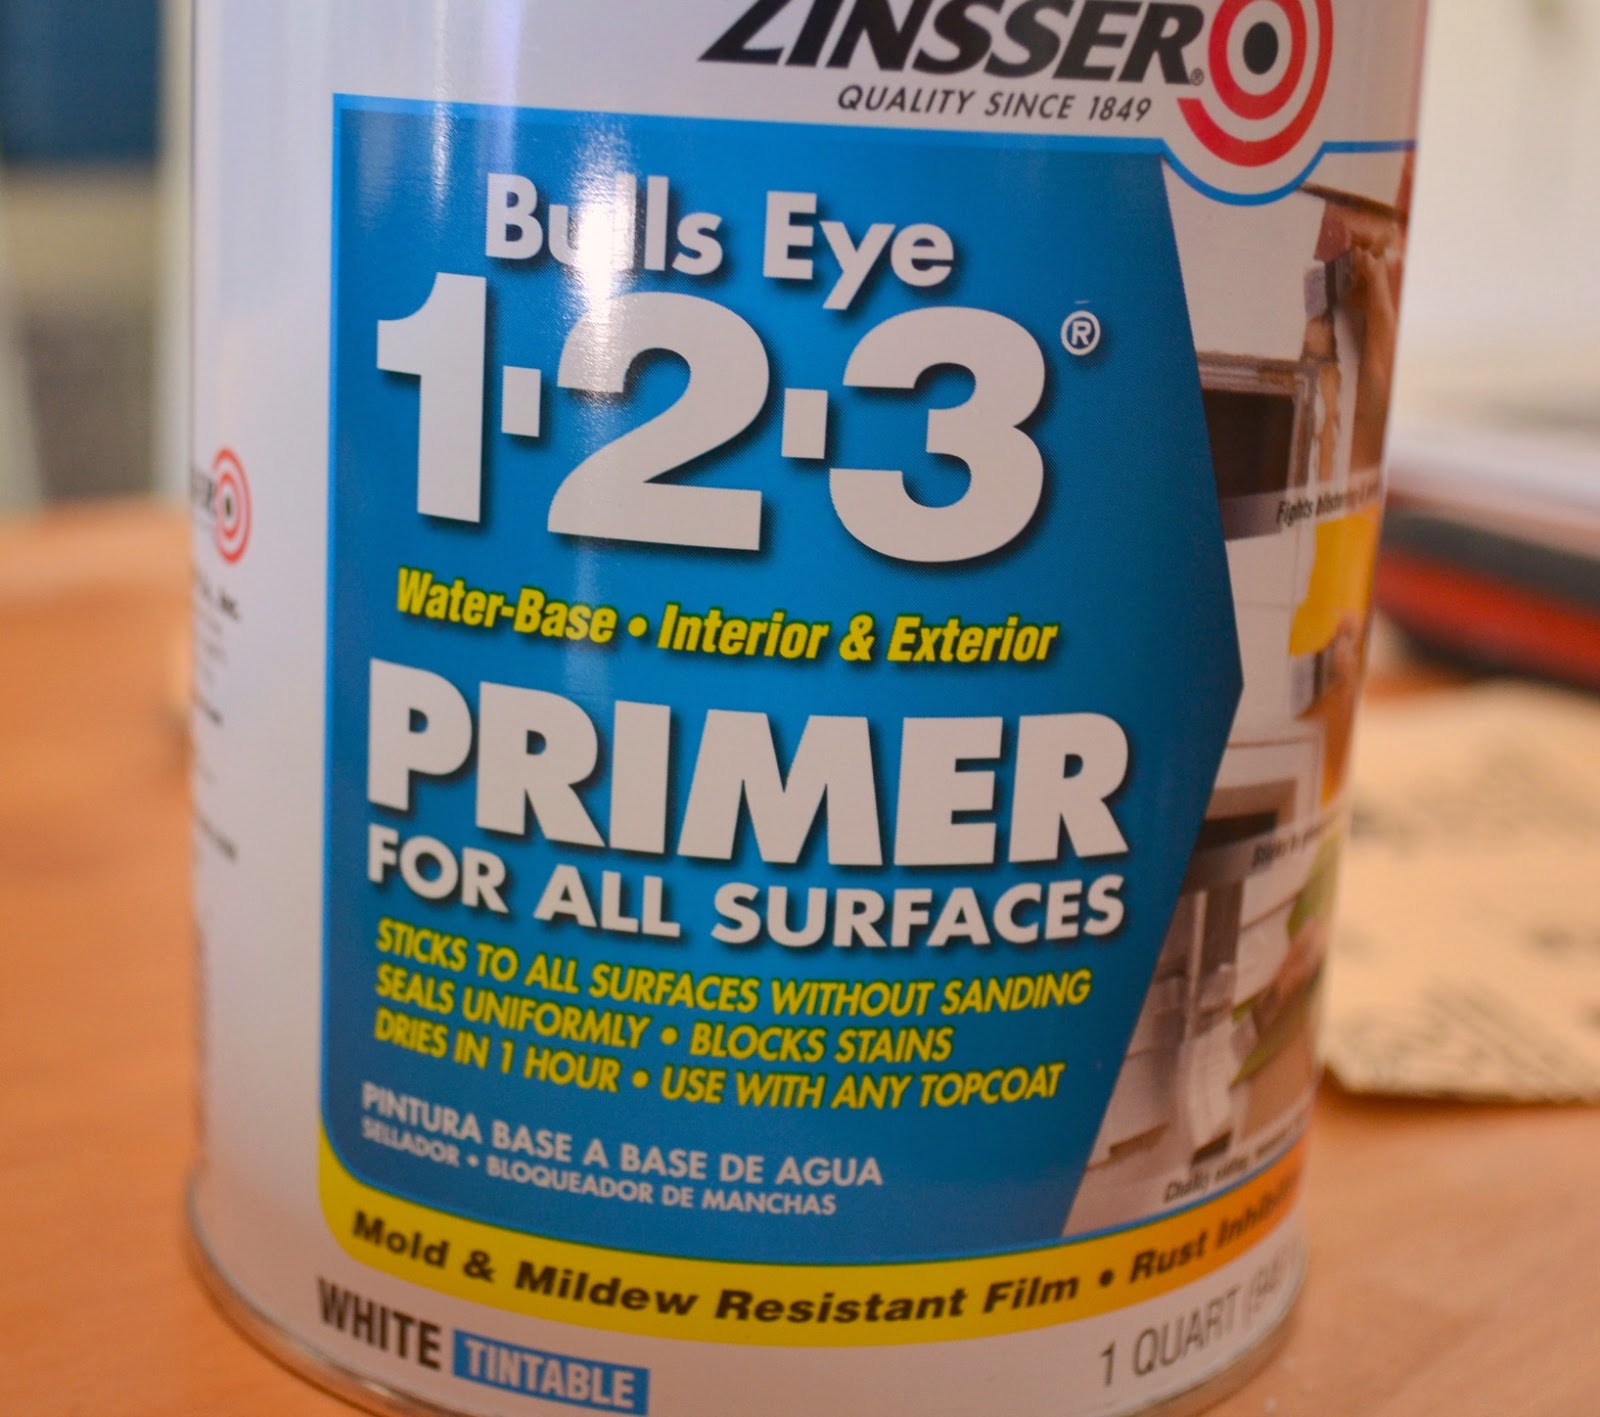
After sanding it with 150 grit sandpaper and removing as much as the paint as I could, I gave it two coats of primer.
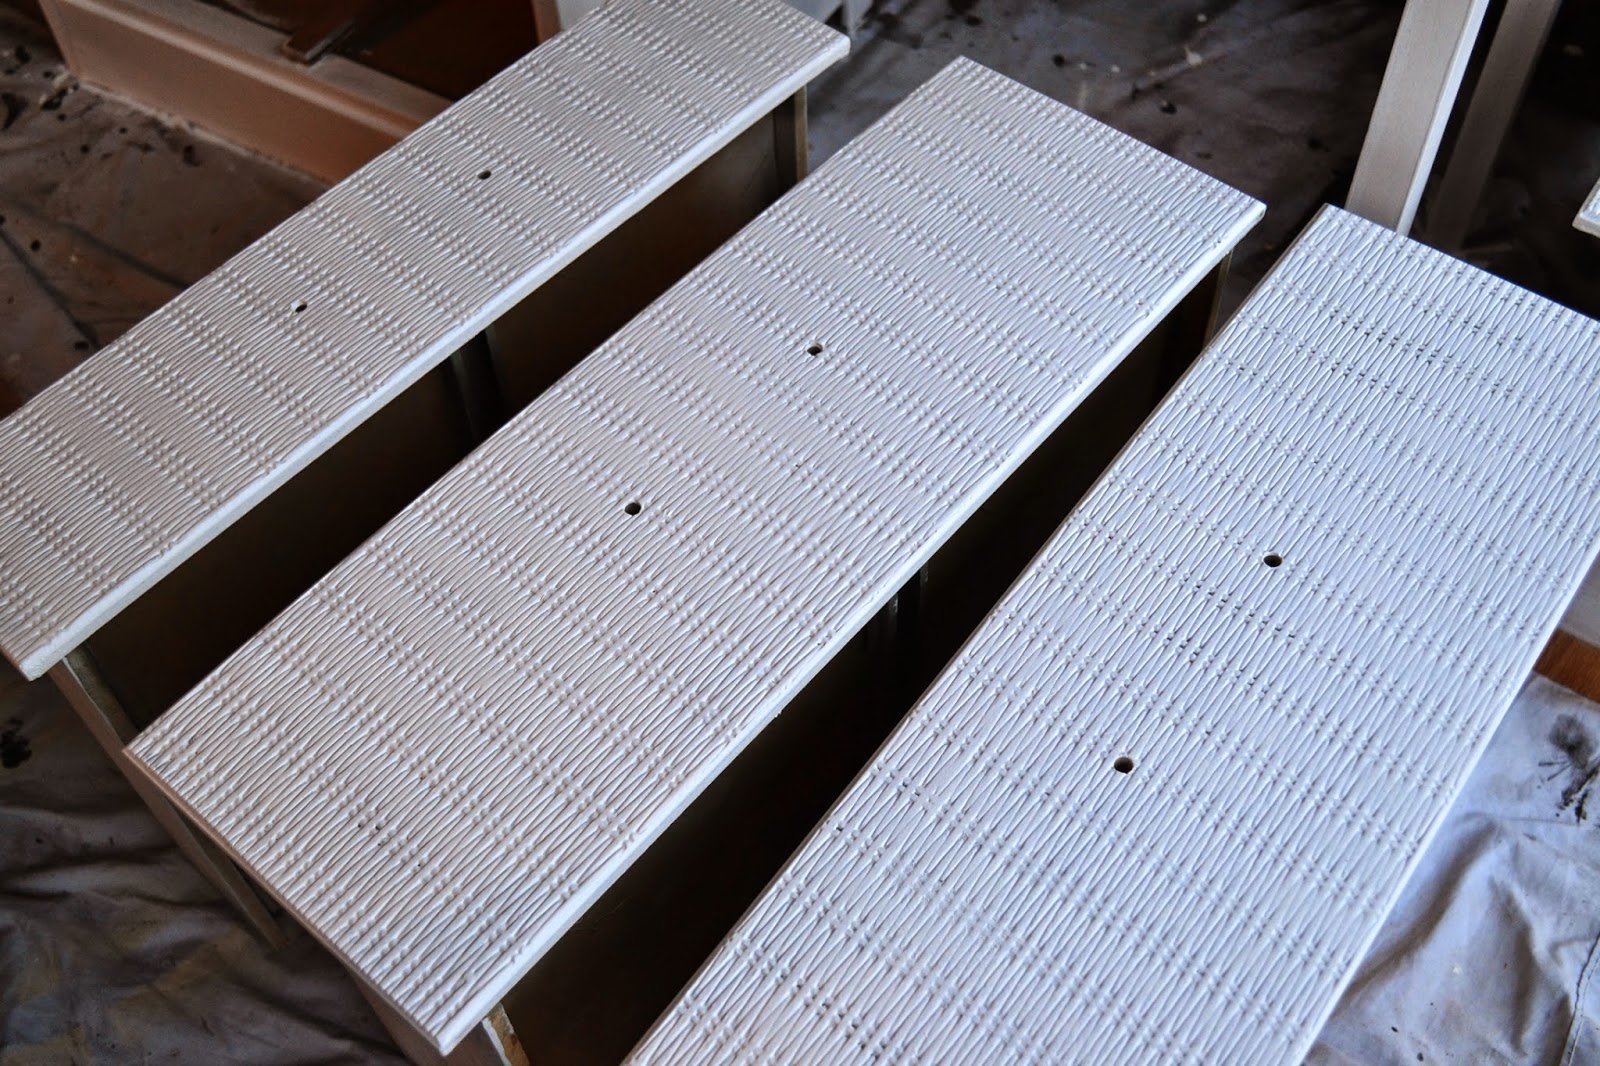
After a full day of drying, it was ready to paint.
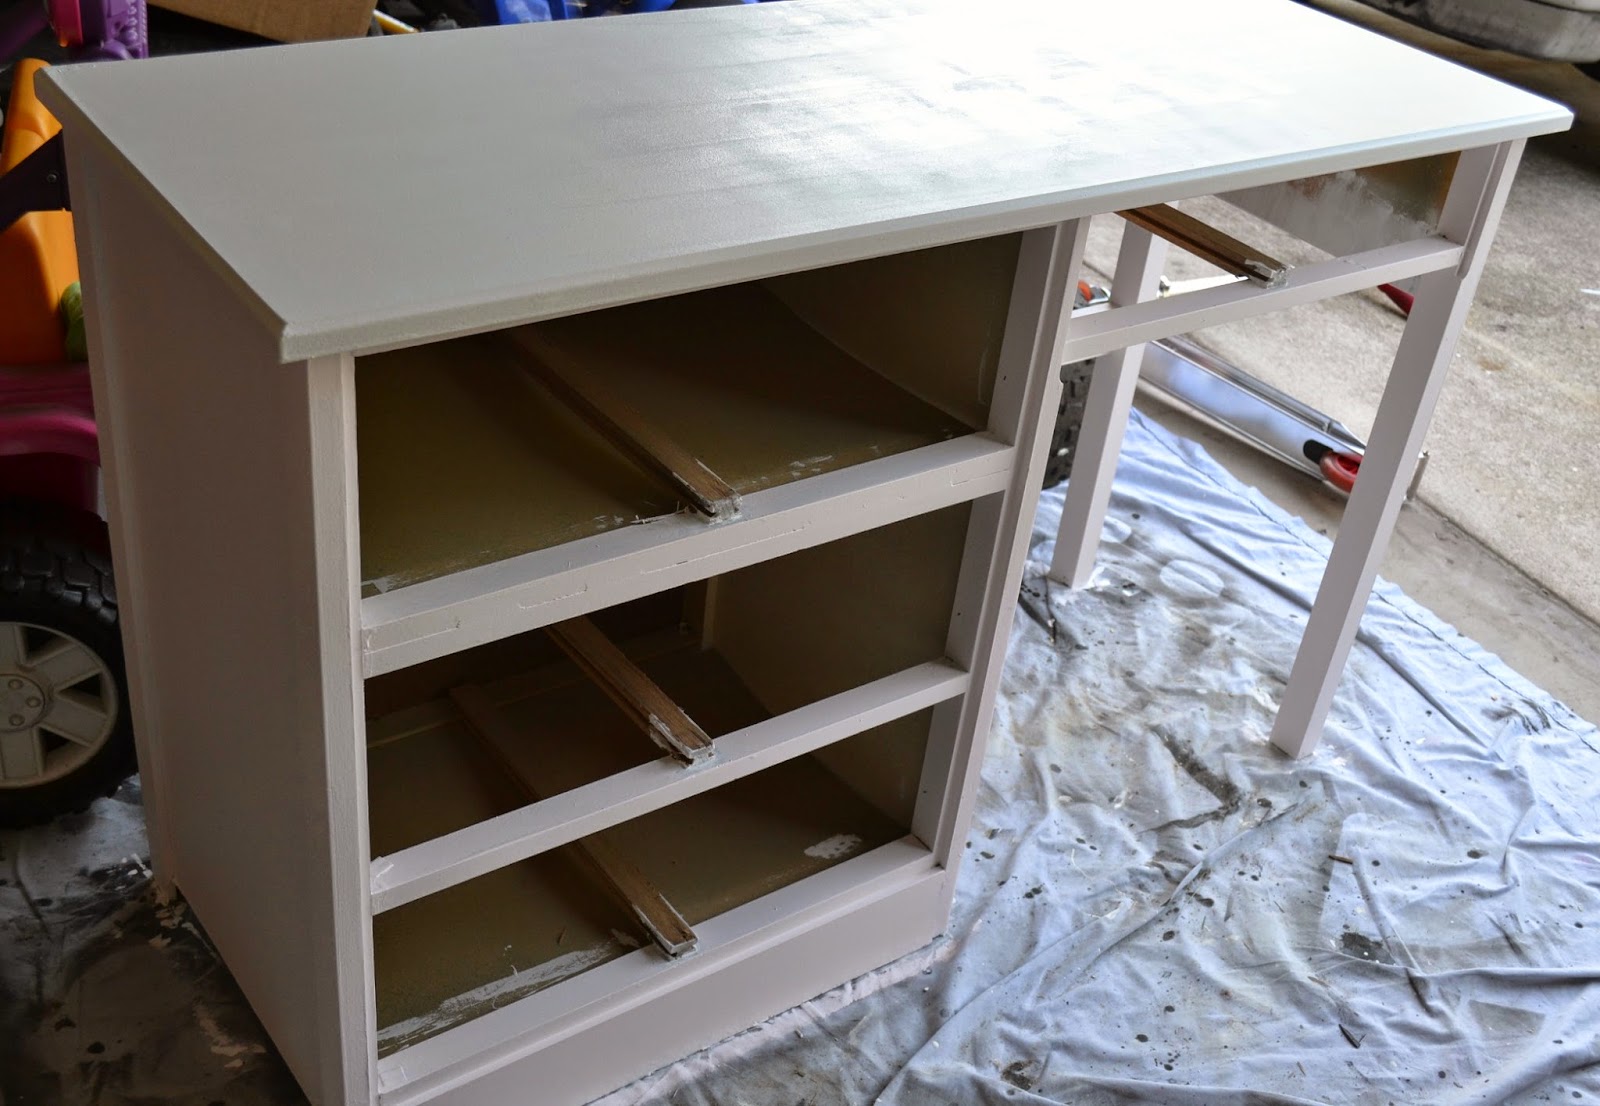
This was the first coat of paint. If it wasn't for this picture, I would have missed the complete underside of the desk!! I really need to get on my game, I know.
I gave it two coats of a light pink paint on the bottom half of the dresser. The color is Musical Mist by Behr. It was the same pink color I had used for my daughter's dresser and nightstand makeover, which you can see HERE.
The top I had painted white using Behr's Popped Corn and gave it two coats of Minwax Polycrylic so it would have some durability and shield off some of the drawings and marks it would later receive from my 6 year old.
While the desk was drying, I decided to keep the original hardware and just give them a few quick coats of spray paint. I used a primer first, and then a white spray paint after it was dry.


It was all finished and looked so much cleaner and brighter. (The top was still wet at this point)

Here's the after:
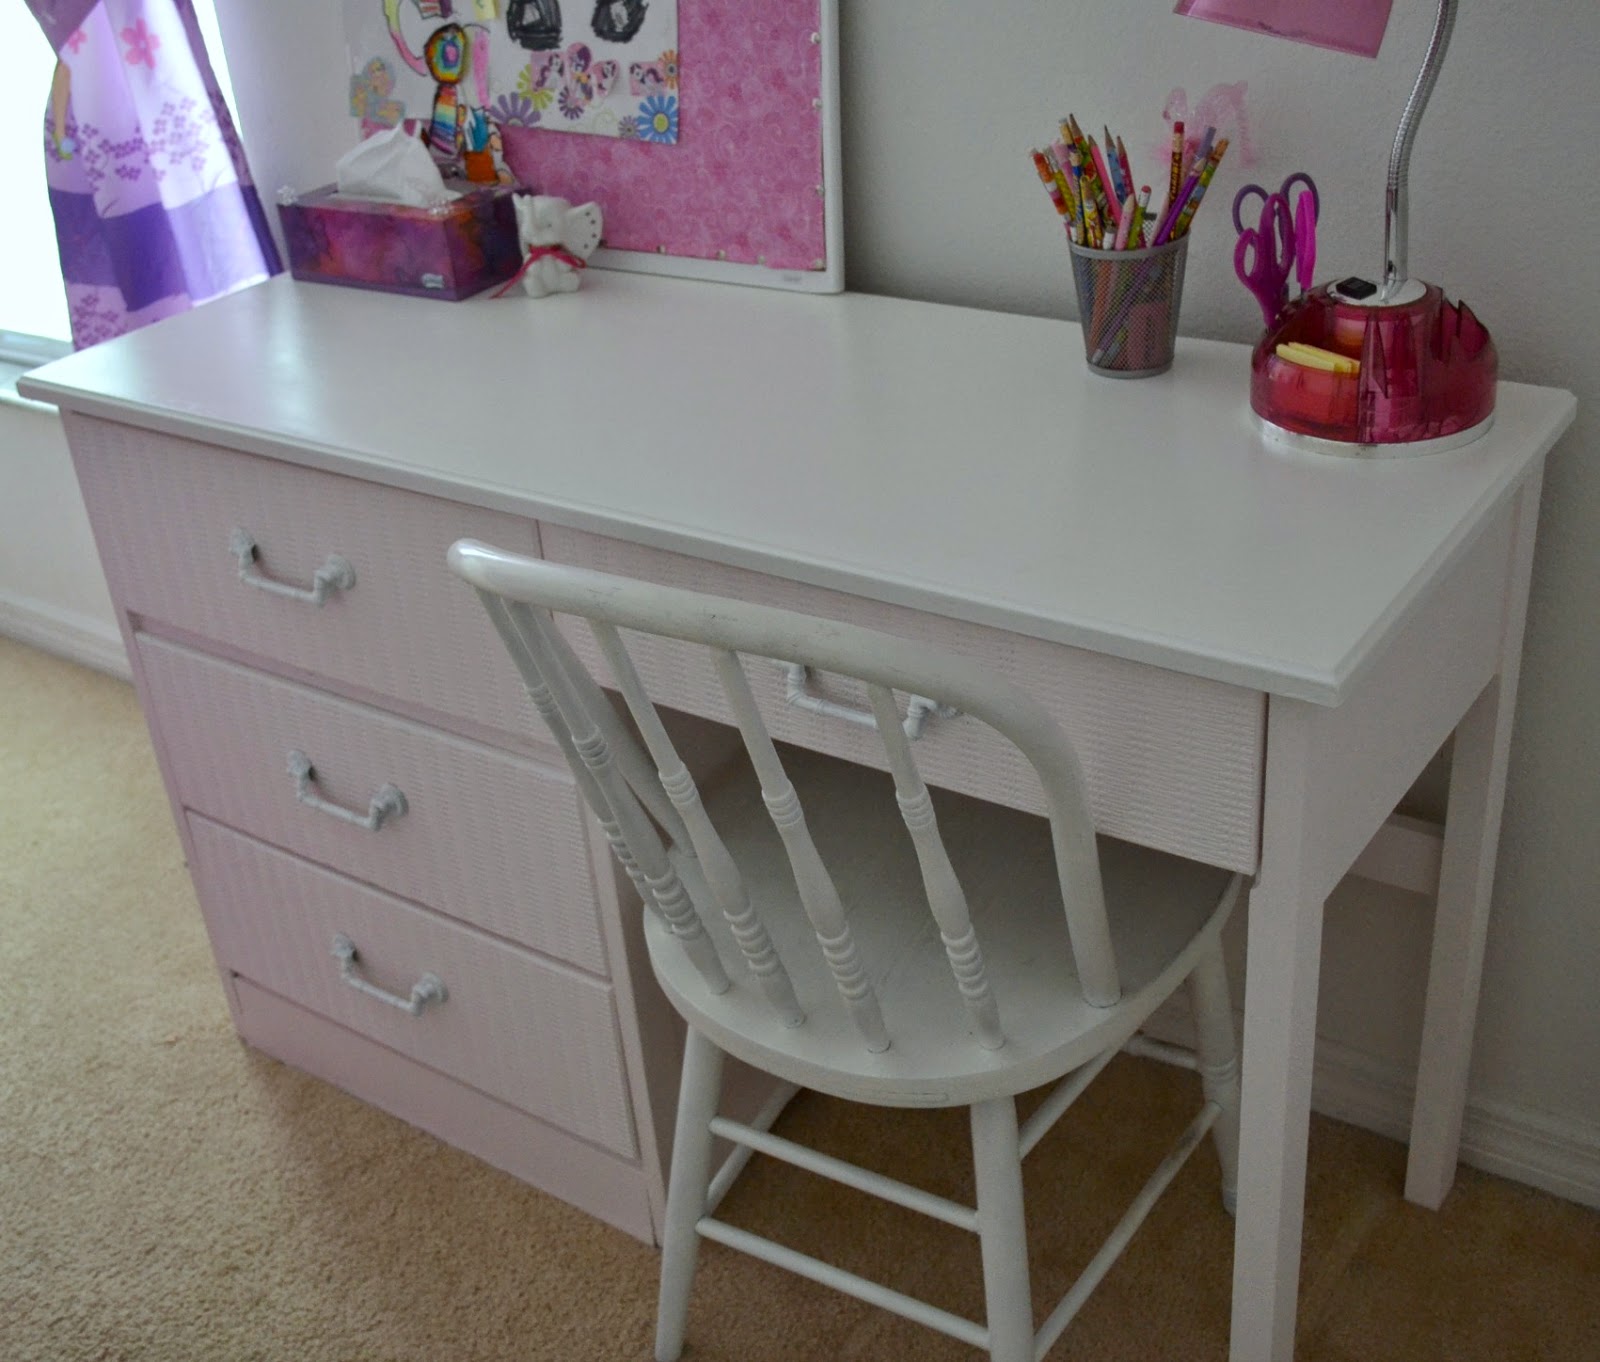

It's a great piece of furniture and it costs me only $4 to complete the entire project, based on the fact that I already had all paints and supplies on hand.
It's custom to match the rest of her furniture in her room, and she adores it.
And I adore the price!


You May Also Like:
How To Line Your Drawers For $2No Sew Fabric Covered Cork Board
No comments:
Post a Comment